When visiting the Great Smoky Mountains, you’ll want to take advantage of the beautiful scenery and take some amazing photos. Here are a few tips to help you get the most out of your Smoky Mountain photography.
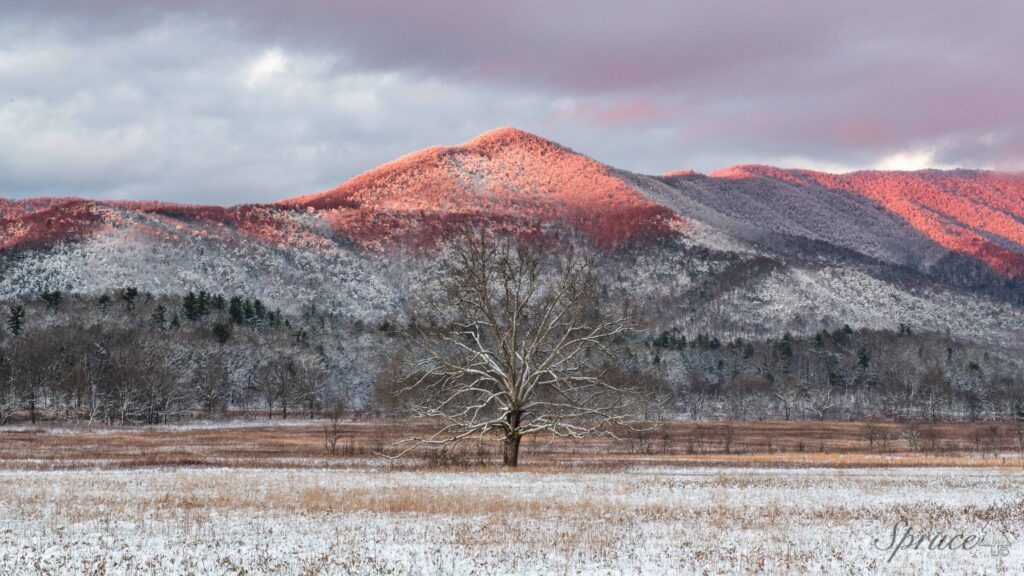
1. Take advantage of the golden hour
One of the best times to capture great landscape and wildlife photography is during golden hour. This is the time shortly after sunrise or shortly before sunset. The lighting is softer and warmer during golden hour, and the mountains tend to take on a beautiful, golden glow. Here are a few pointers for taking amazing photos during golden hour. Position the rising or setting sun behind you. Watch for warm tones hitting your subject. Use a tripod to ensure sharp images. Golden hour is a special time of day, so make sure to savor the moment and take in the stunning views and photographic opportunities.
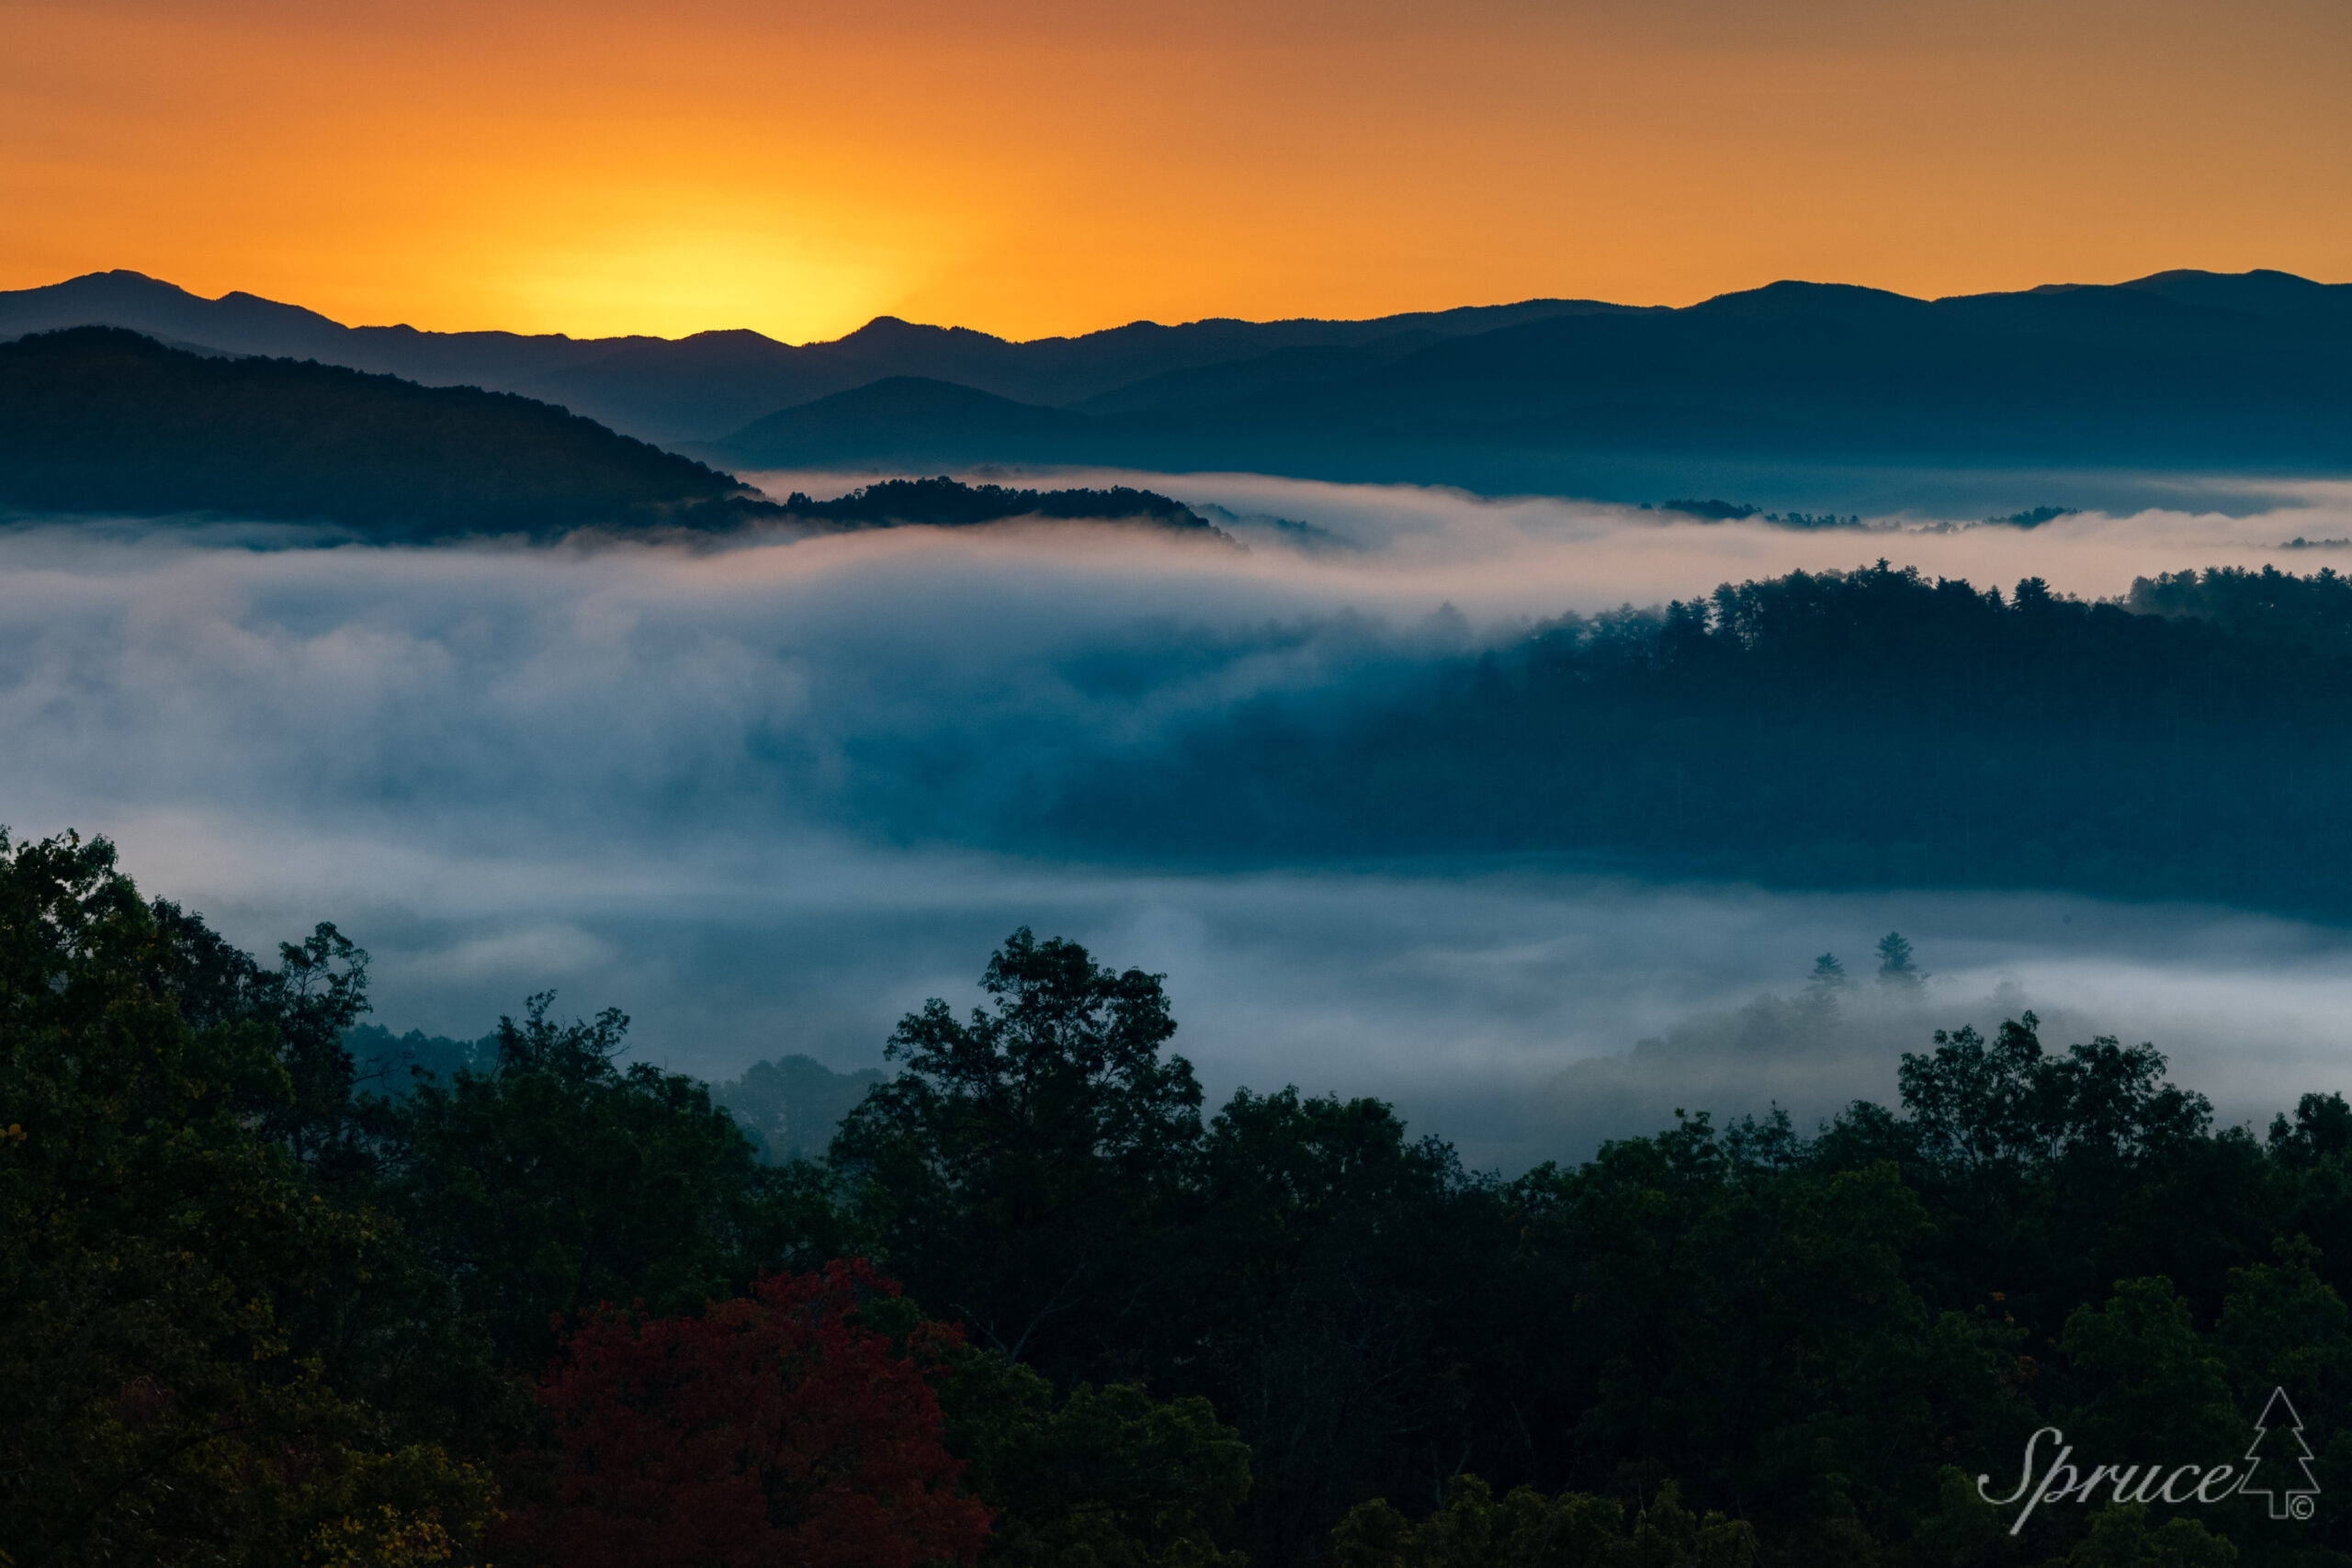
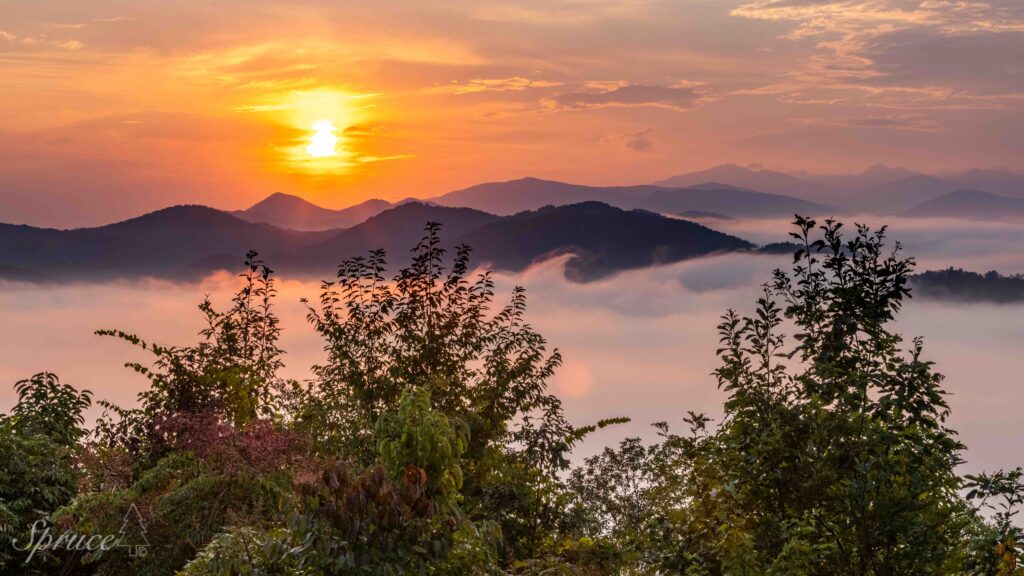
2. Get up early to capture the morning fog
If you want to take some truly stunning photos of the Smoky Mountains, then you’ll need to get up early to catch the morning fog. After all this is how the Smoky Mountains got their name. It occurs most mornings in the valleys and rivers. Here are some tips to help you make the most of this magical time of day. First, plan your route in advance. Decide which overlooks you want to visit and map out the best route to get there. Plan on starting at higher elevation overlooks to be above the fog. Spend time and be patient as the fog changes and dissipates during the morning. After shooting from above the fog, move down to lower elevation. This is when you can look for vistas with contrasting areas of sharp detail and wispy fog.
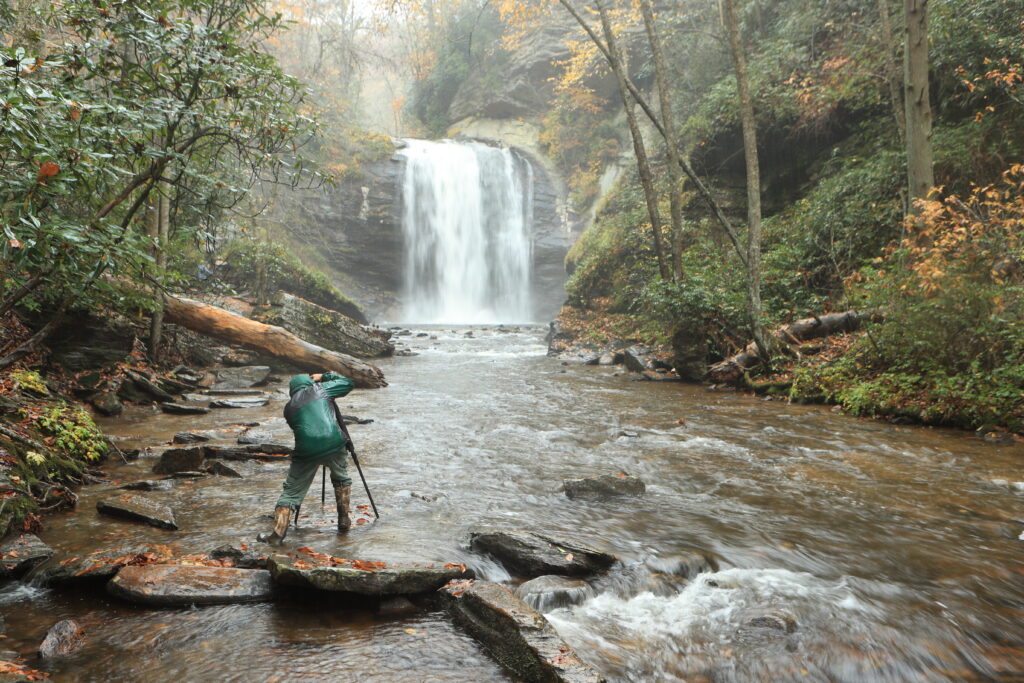
3. Use a tripod
Another way to take great photos is to use a tripod. This will help keep your camera steady and prevent unwanted blurriness. A tripod is a must have to capture soft water effects when photographing waterfalls and rivers in the Smokies. You will need to locate and select waterfalls with the right amount of water. You don’t want rushing water. Large amounts of rushing water result in over exposed images. Small amounts of constant water will give the best results. To create the soft, misty water effect you will use a slow shutter speed. Typically, a speed of 1/8 of a second to 1/4 of a second will work. The shutter speed will be dependent on the speed and amount of water. Using a tripod prevents the image being blurred from the slow shutter speed. Experiment with different settings and different angles to get the look that you want.
4. Hire a guide
When visiting an area that you are not familiar with, there are many benefits to hiring a local guide who can help you get the images that you want. Local knowledge from a guide will save you a considerable amount of time researching an area. Plus, the guide will know spots and have insights from experience that you will not be able to find on the internet or in books. Lastly, a guide who specializes in photography will be able to help you with camera settings, set-up for the best compositions, and other pointers while guiding. Even though I am an experienced guide and photographer, I use guides when I visit new areas. The time savings and local knowledge are invaluable.
In conclusion, when photographing in the Smoky Mountains, get started early in the morning to capture the mountain mist at sunrise. Plan ahead so that you can take advantage of the golden hour for stunning landscapes and wildlife. Use a tripod to ensure the best results for your landscape photography. Lastly, consider hiring a guide to ensure that you get to the right spots at the right times to capture the perfect photos. And don’t forget that the more you practice the better your final results will be.